|
|
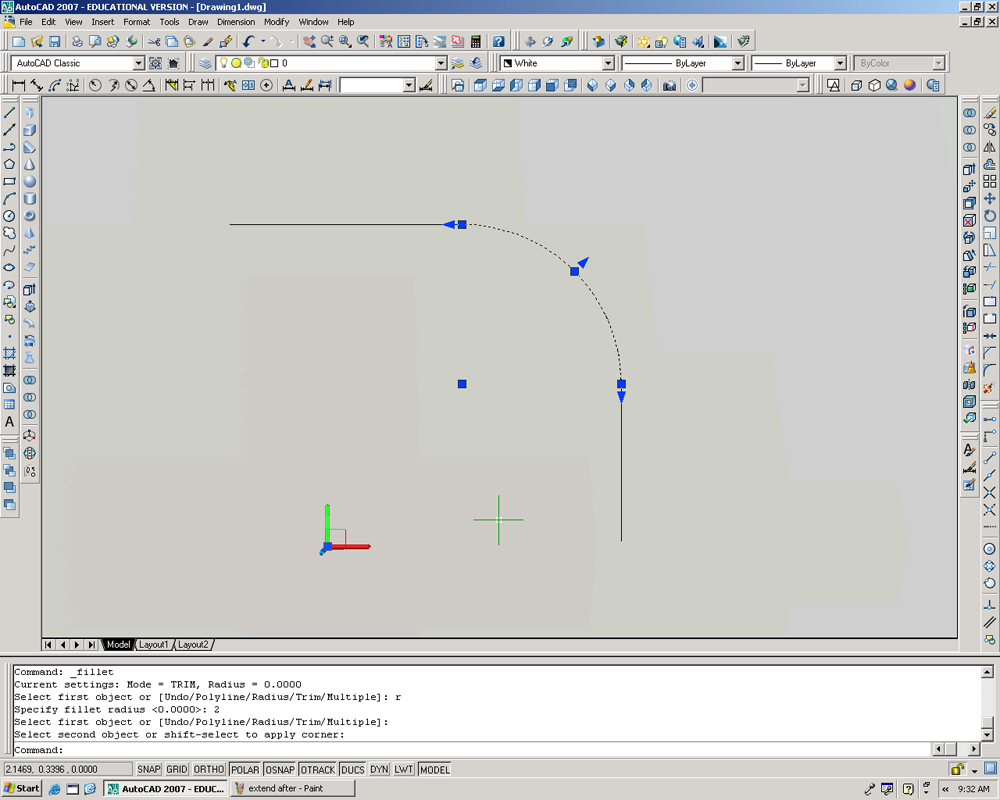
The Fillet tool is found on the Modify
toolbar and is another useful tool quickly modifying the corners of your
drawing. The Fillet tool rounds of the corner of the corner of the
object. As with the Chamfer tool, the lines are not required to be
touching; AutoCAD will automatically extend or trim lines to make the
Fillet the appropriate size.
The first thing you will be asked for when using this command is the first object you wish to select for the Fillet. However, just like in the chamfer tool, the default value is 0. Type "r" into the command line to enter the radius. Once you have done that, you can now select the two lines you wish to create the Fillet on. If you wish to create Fillets on multiple corners, type "M" (Multiple) into the command line, and use the tool repeatedly until you are finished. The way AutoCAD creates the fillet is by shortening the lines, and creating an arc of the given radius connecting the two lines selected during the command. The newly created arc is selected in the image to the right to demonstrate this. |
 |