|
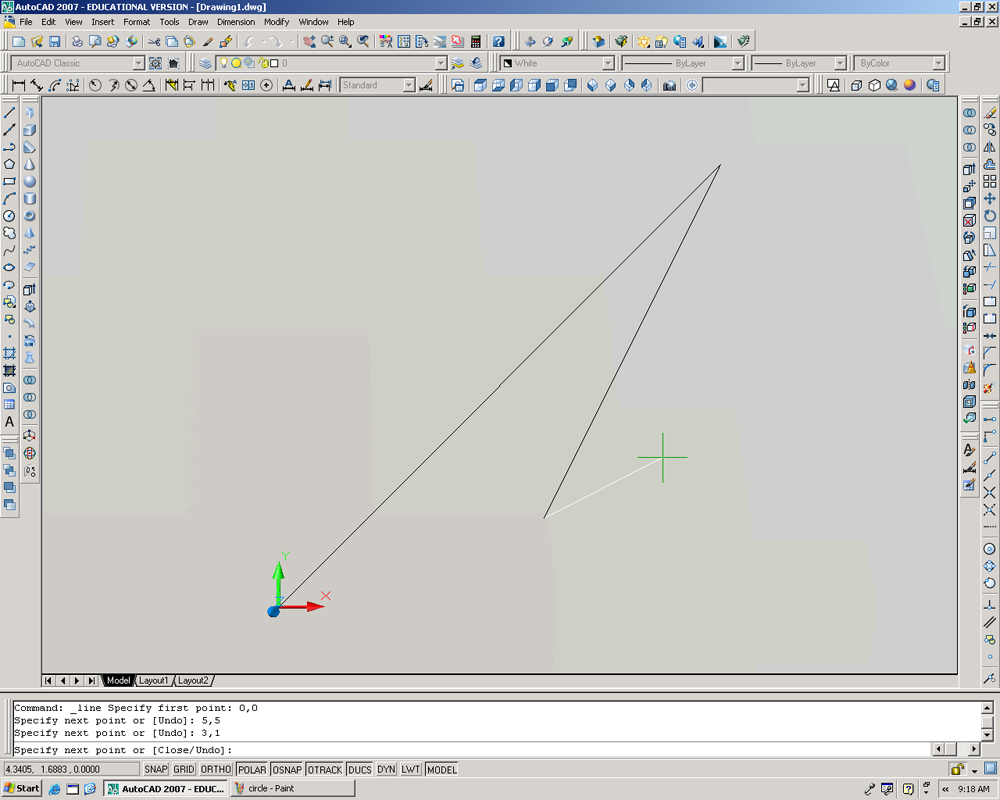
Absolute Coordinates When you enter coordinates AutoCAD, they are Absolute Coordinates. Basically, you are plotting that point in the AutoCAD model space in the same way you would plot in a series of coordinates on a graph in math. |
|
|
|
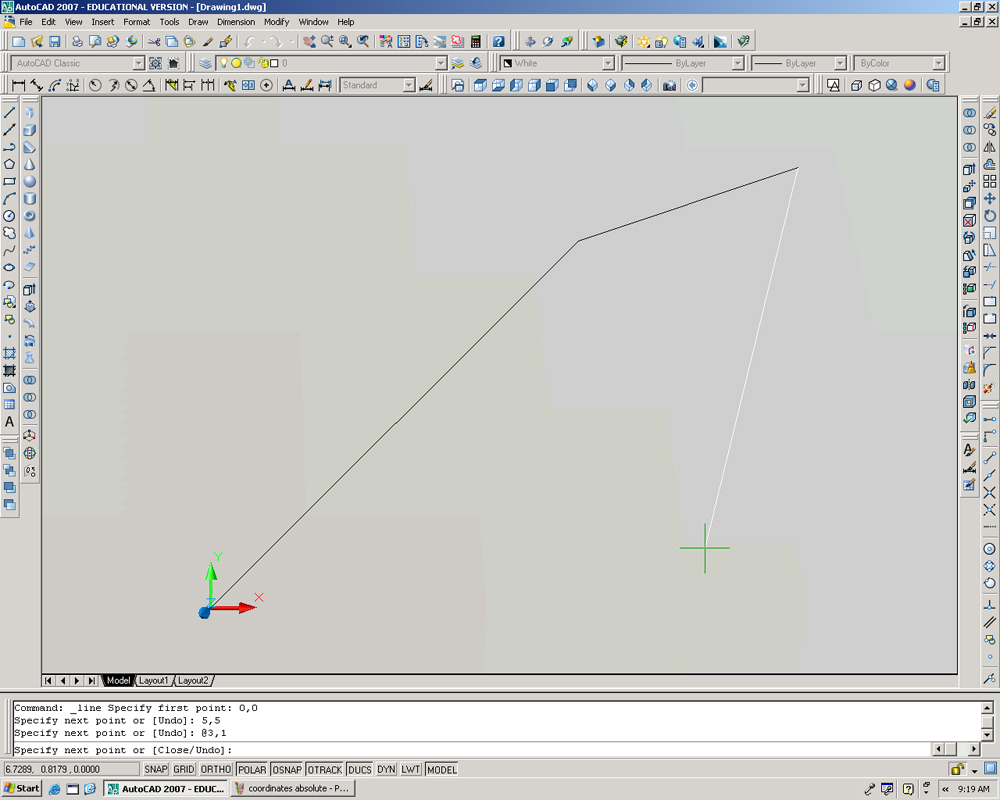
Relative Coordinates Sometimes it is more convenient to put in a coordinate based on where your last coordinate was. This is called a Relative Coordinate. If you place "@" in front of your coordinates in the command line, AutoCAD will use the relative coordinate system. Compare the image to the right with the one above. In the top image, I used the absolute coordinate system and entered "3,1". This created a point at the location (3,1). In the second image, I used the relative coordinate system and entered "@3,1". This created a line that was 3 units over and 1 unit up from the last coordinate that was entered, which was (5,5). Thus, the coordinate was actually placed at (8,6) in the absolute coordinate system. This is helpful for entering in the length of a side of something. If you are creating a part, you can enter "0,5" to create a vertical line that is 5 units long. |
|
|
|
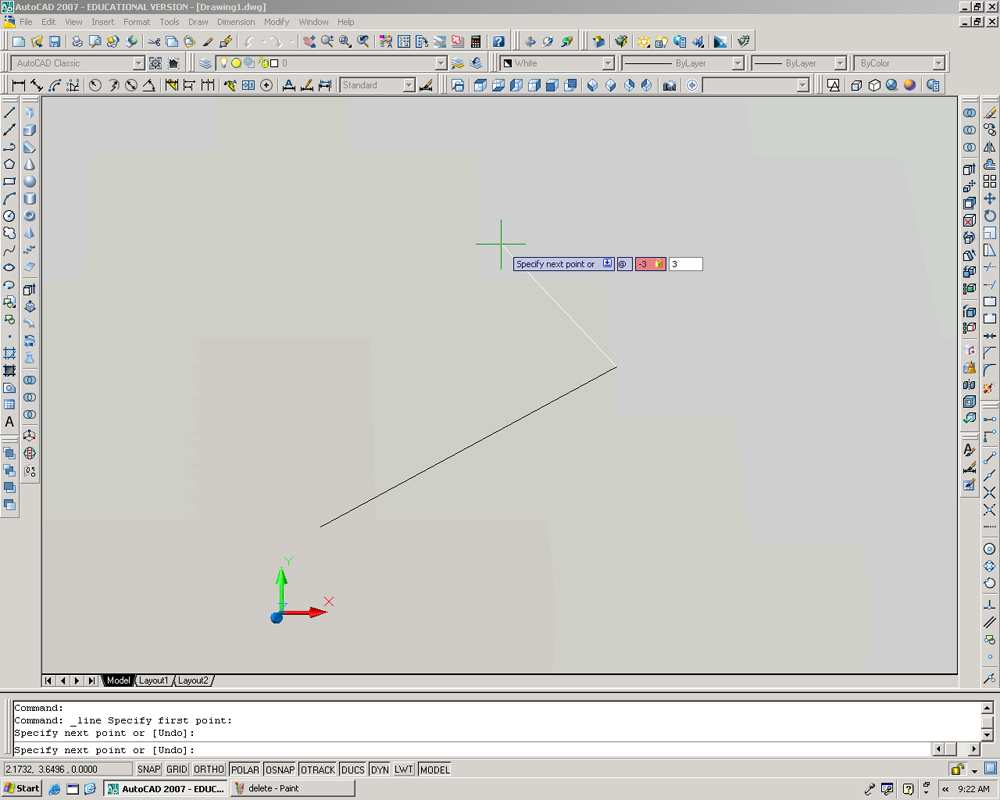
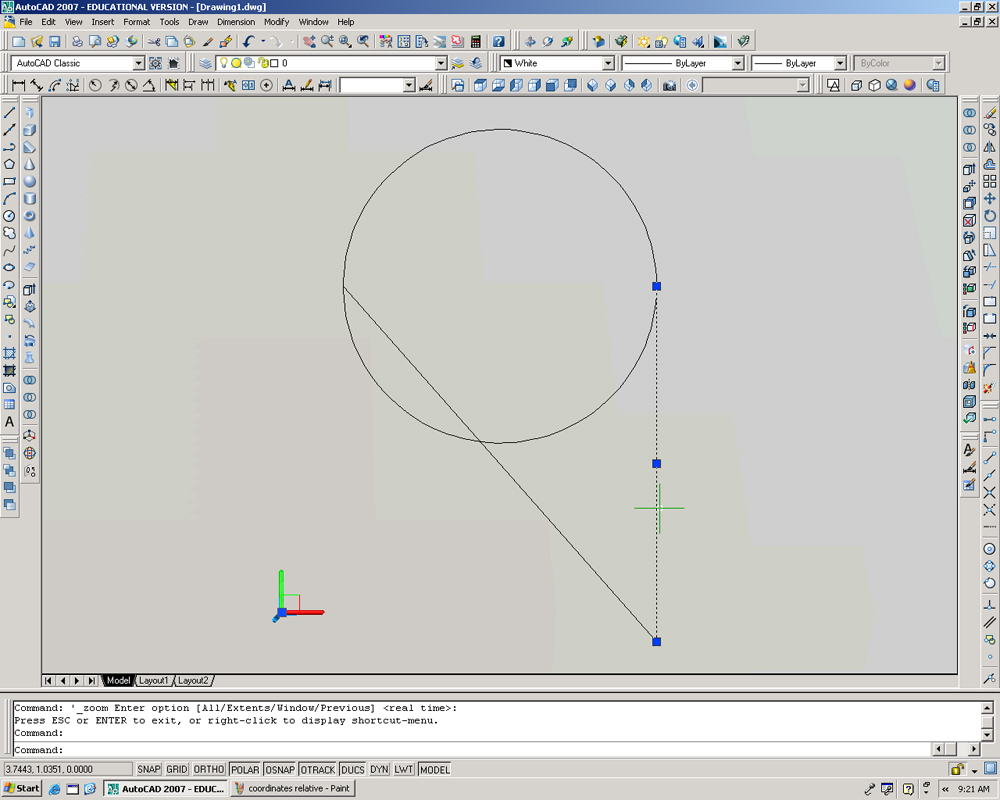
Dynamic Input AutoCAD 2006 introduced a feature called Dynamic Input. This is more of an on-screen display of the information pertaining to the command you are currently using. For example, when entering coordinates for a line, the X, Y, and Z coordinate values are shown there by the cursor instead of down in the command line. Other useful information such as the angle and distance are also shown here. |
|
|
|
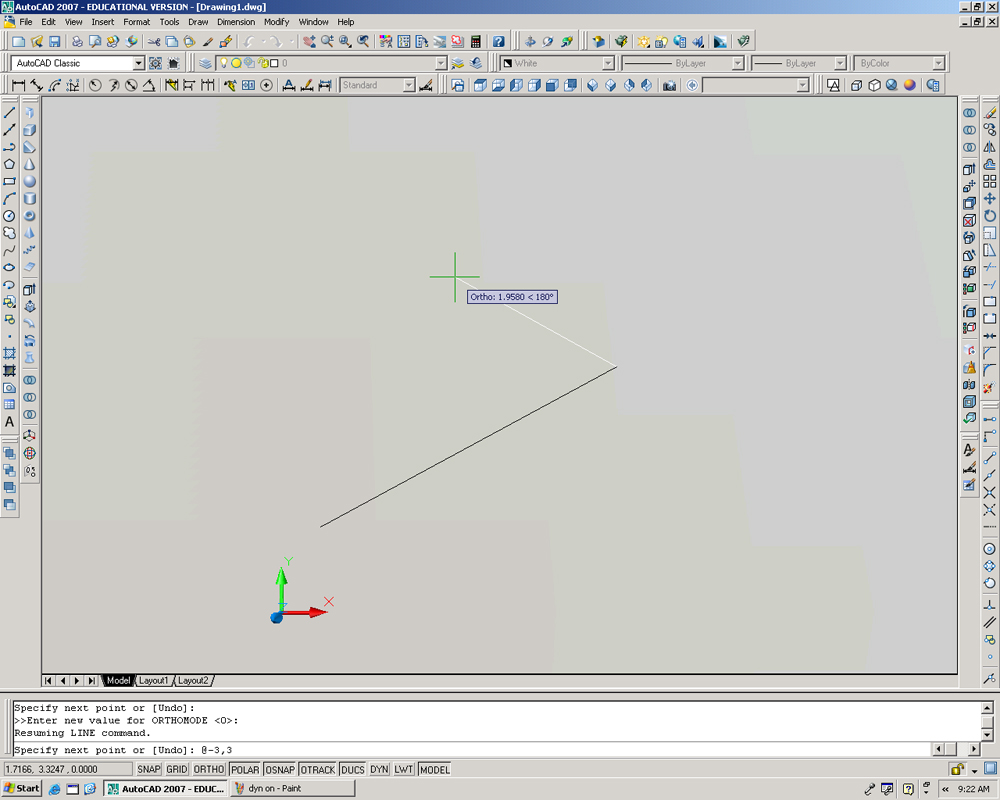
If you wish to turn this option off, click the DYN button on the Status Bar. Your screen will now look like the image on the right. You can turn this function on and off while in the middle of commands without interrupting the command. |
|
|
|
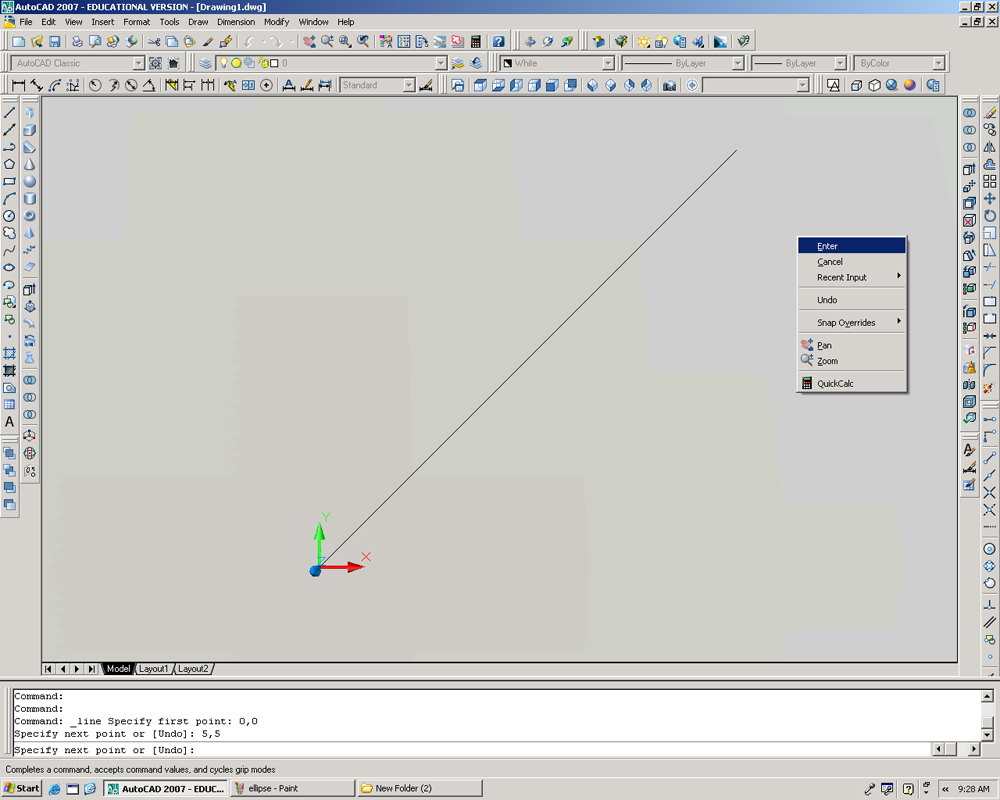
Ending Commands There are two ways to end a command in AutoCAD. Once finished, you can right click and bring up a menu which has options for "Enter" and "Cancel". Clicking "Enter" will finish your command, but clicking "Cancel" will end the command and also erase any work done during the command. Alternately, you can hit "Enter" on your keyboard to end a command, and "ESC" to end the command and erase any work you did during the command. The exception to this is the Line tool, where both "Enter" and "ESC"/"Cancel" will leave any work that was created during the command. |
|
|
|
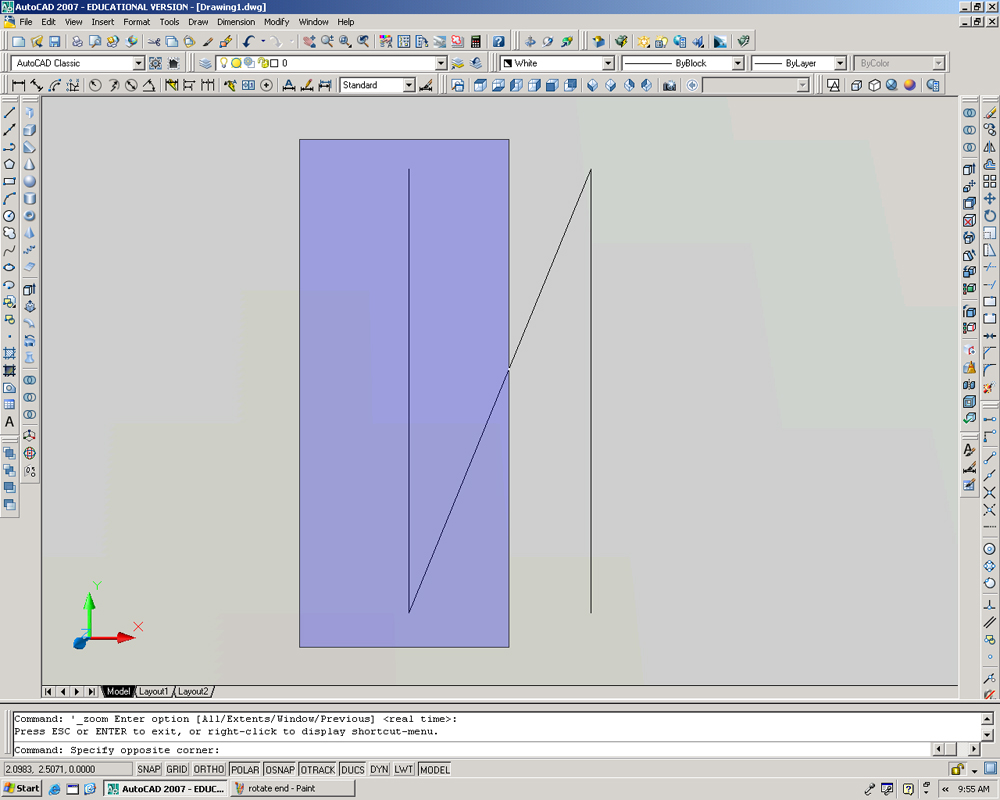
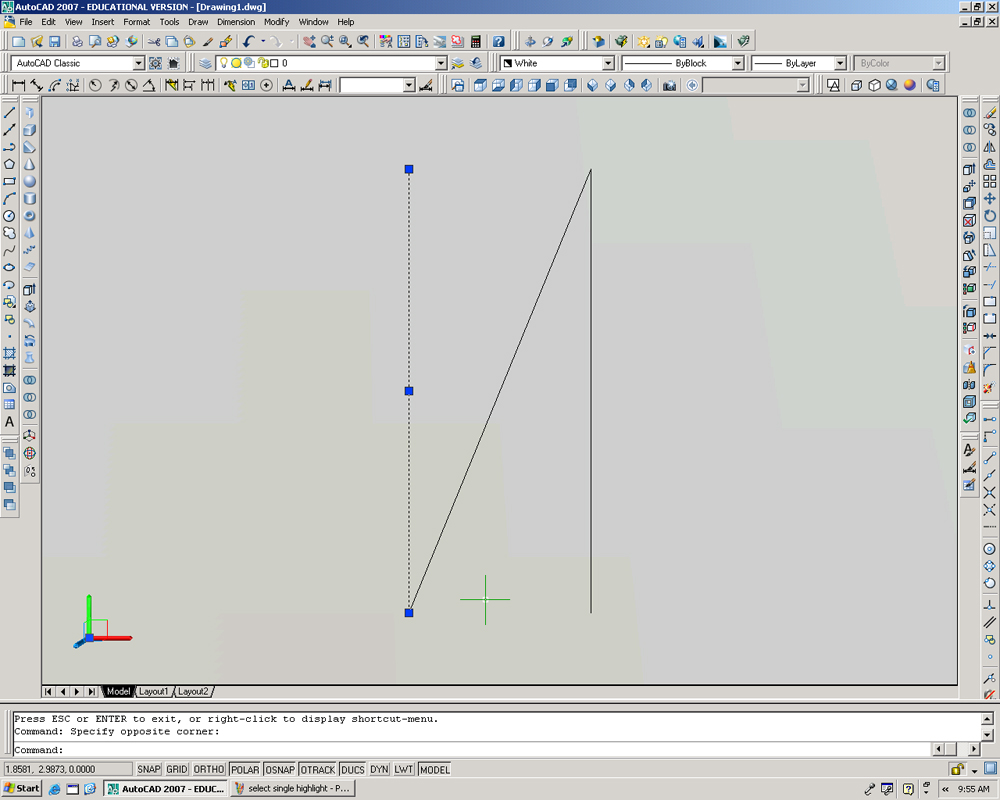
Selection Methods To select a single item, you can either directly click on it, or drag your mouse from the upper left corner to the lower right corner. This creates a blue highlight box. Any object that is completely inside the box will be selected. If an object is not entirely in the box, it will not be selected. |
|
|
 |
||
|
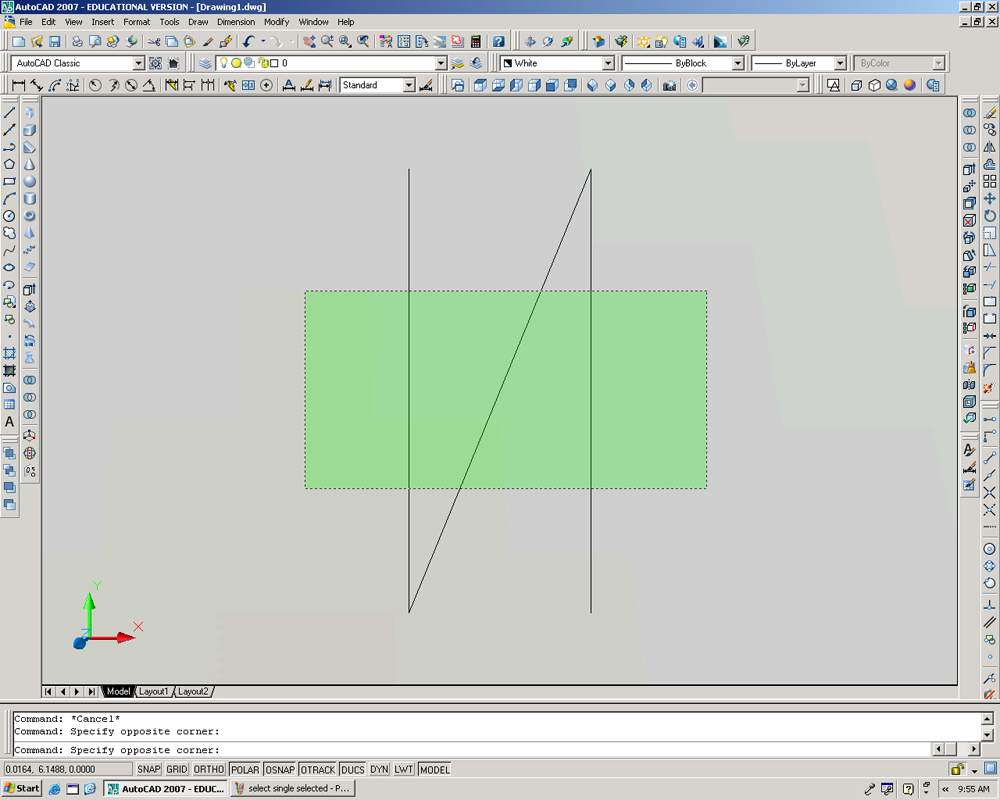
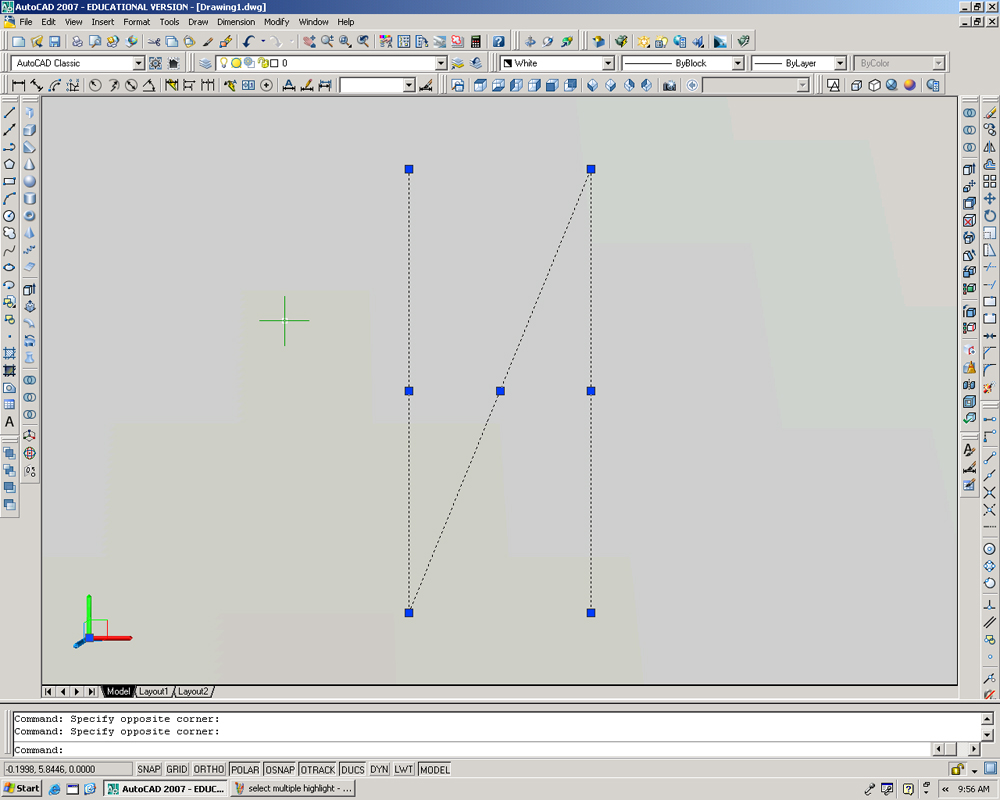
If you need to select many items at once, drag the mouse from the bottom right to the upper left over the items. This will create a green highlight box. Any item that is in the box when you release your mouse will be selected; however, the entire item does not need to be highlighted in order to be selected. This is a good way to select multiple items to be edited or deleted.
You may find it helpful with some of the commands such as mirror, rotate, move, etc... to select the items before you click on the icon. This will save you from having to select multiple items during the command and hitting enter to proceed to the rest of the command once everything is selected. This can apply to most commands, so play around and see which ones you find it useful for. |
|
|
 |
||
|
Deleting Objects To get rid of something you don't want in your drawing, select it and press "Delete" on your keyboard. This is the quickest and easiest way to delete part of your drawing. You can also press the Erase button on the Modify toolbar and go click on whatever you want to delete. |
|