 |
|
The Mirror tool is part
of the Modify toolbar and is used to duplicate your drawing by mirroring
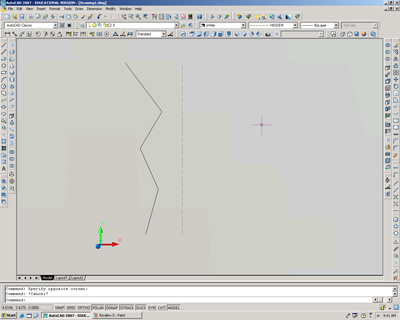
it over a line. The mirror line used in the example is drawn in very
lightly in the images to the right, but that line will not actually be
during the command.
To use the command, click
the icon and select the items you want to mirror. You will be asked for
the first and second points of the mirror line. The points you select
will be the endpoints of the mirror line. It doesn't matter how long the
line is, it just needs to be the exact center of the overall object you
want to create. |
|
 |
|
|
|
|
|
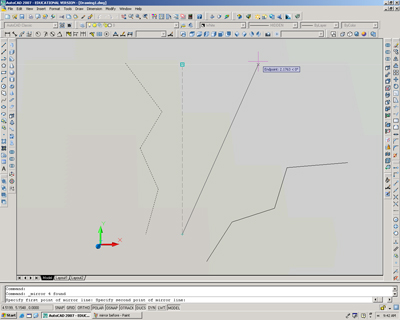
As stated above, the faint
grey line is not really part of the command, but it was used to show how
a mirror line is used. The bottom end of the line was selected as the
first point of the mirror line, and as I drag the mouse up towards the
top end, the image rotates around with it, always being reflected over
the line formed between the cursor and the first point of the mirror
line. |
|
 |
|
|
|
|
|
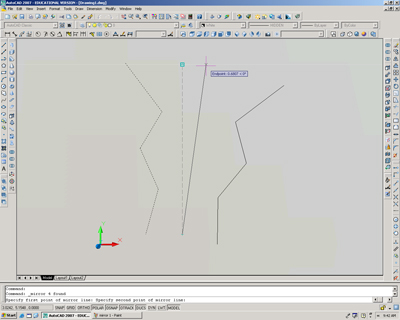
The drawing continues to
rotate around as the cursor is brought to the vertical position. |
|
 |
|
|
|
|
|
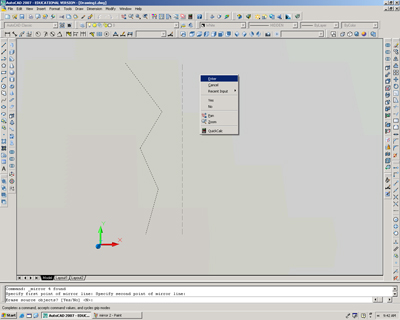
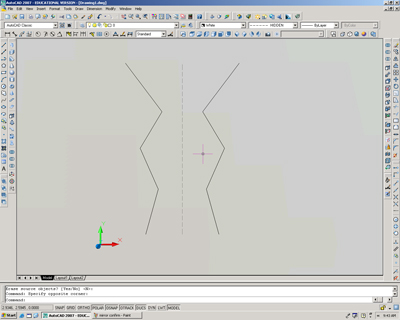
After you select the second
point for your mirror line you will see the mirrored image disappear.
However, the command line is asking you if you want to delete the source
image, or the image you are mirroring. The default answer in AutoCAD is
already no, so you can just hit Enter on the keyboard, or right click
and choose Enter from the right click menu; this would be the same as
hitting Enter on the keyboard. You can also choose yes or no from the
right click menu to answer the command line question of whether or not
to delete the source image. |
|
 |
|
|
|
|
|
Now you have a perfectly
symmetrical image created by the Mirror tool. |
|
 |