|
Open a new drawing in AutoCAD, or delete the objects you already have made.
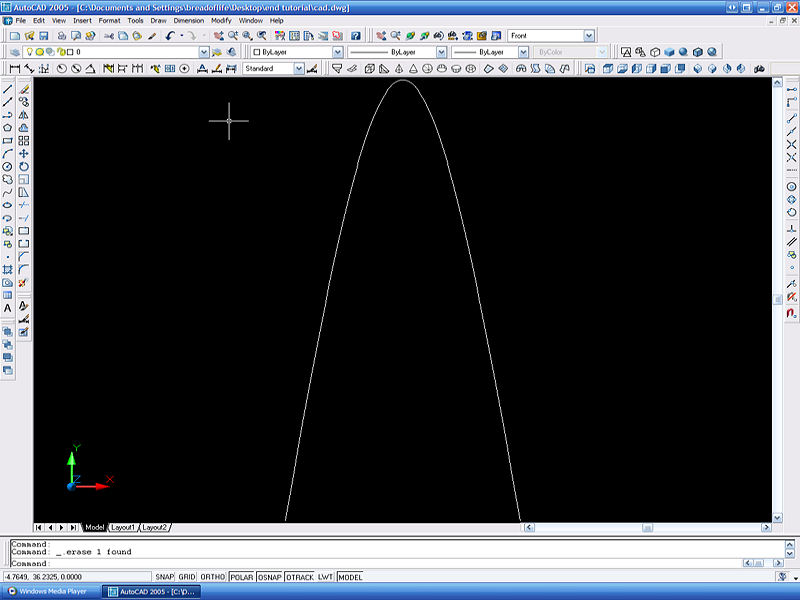
In the view toolbar, select front view. Create a Spline (on the Draw toolbar) with first point at 0,0, next point at 10,40, and next point at 20,0. Right click and hit enter to tell AutoCAD you are done creating the Spline. Right click twice more to end the command. (Instead of right clicking, you can left click on any point of the screen, and “bend” the ends of the Spline in that direction. If you pulled the mouse straight down and left clicked, you would essentially be making the Spline become tangent with the vertical) |
 |
|
| Create another Spline with first point -10,0, next point 10,40,-20, and next point 30,0,-10. End the command in the same was as in the previous step. | 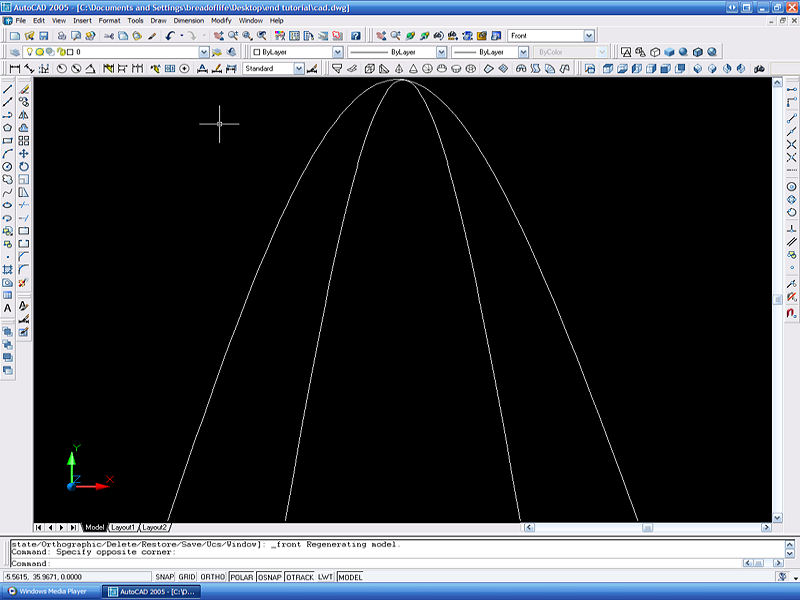 |
|
| Click the SW Isometric View button to view your object in 3D. | 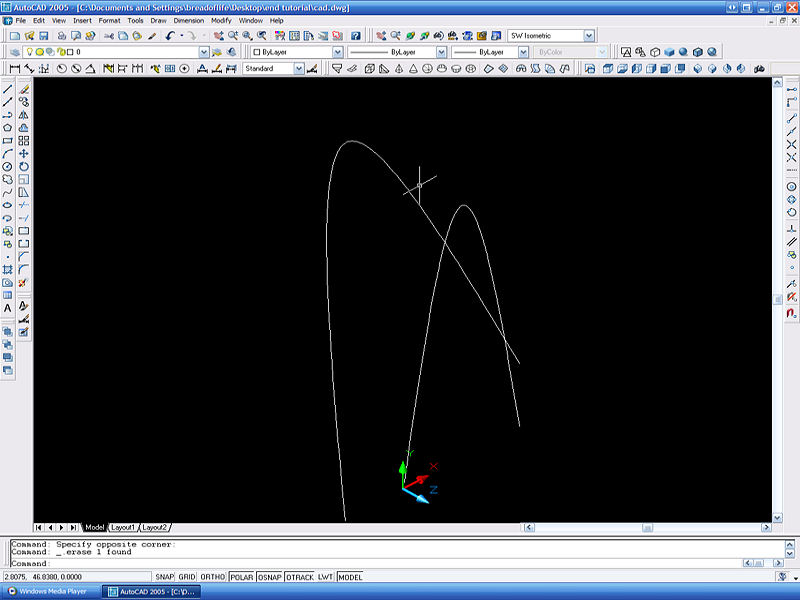 |
|
| On the surfaces toolbar, select the Ruled Surface command. This command is used to create a curved mesh in between two curves (straight lines, created with the Line tool can also be treated as curves in AutoCAD if you wish to mesh straight edges with this method). It will ask for first defining curve and second defining curve. These are the two curves you just created. When selecting them, be sure to select the same end of both curves, or the mesh will appear twisted or folded over itself, as discussed earlier during simple meshing. | 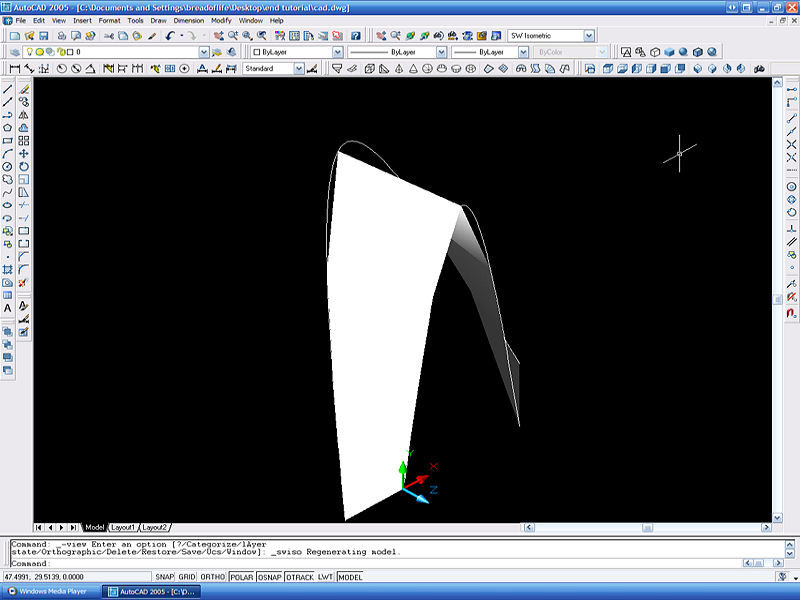 |
|
|
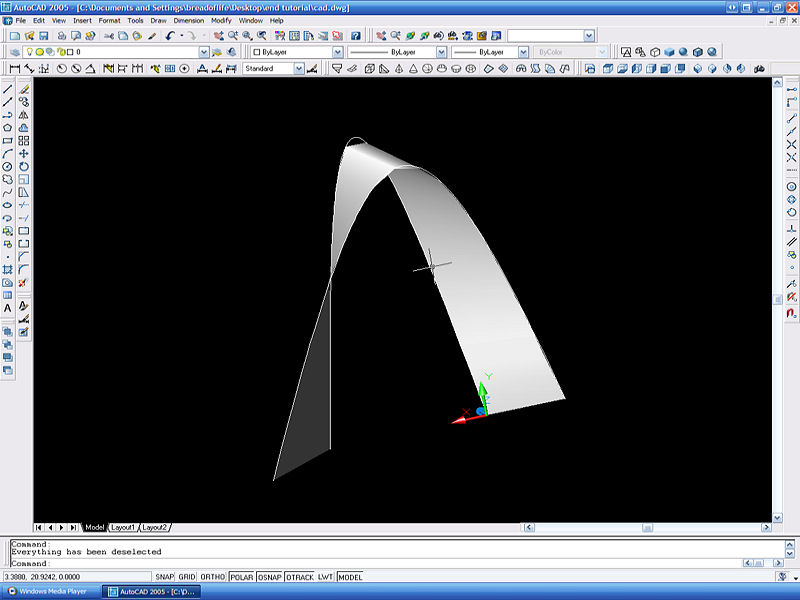
Notice that the surface created does not line up with the Splines very well.
This is because AutoCAD, by default, splits the curve up into 6 segments and meshes between those points.
We can increase the number of segments that AutoCAD splits the line into, which we will do now. In the Command Line type SETVAR and hit enter. When it asks for variable name, type in SURFTAB1. As mentioned before, the default value is set to 6 (notated by the <6>).
Type in a new value of 25 and hit enter. This will split the curve into 25 segments and mesh each of these smaller segments. |
 |
|
| Using the 3D rotate tool, view your object from several different angles. | 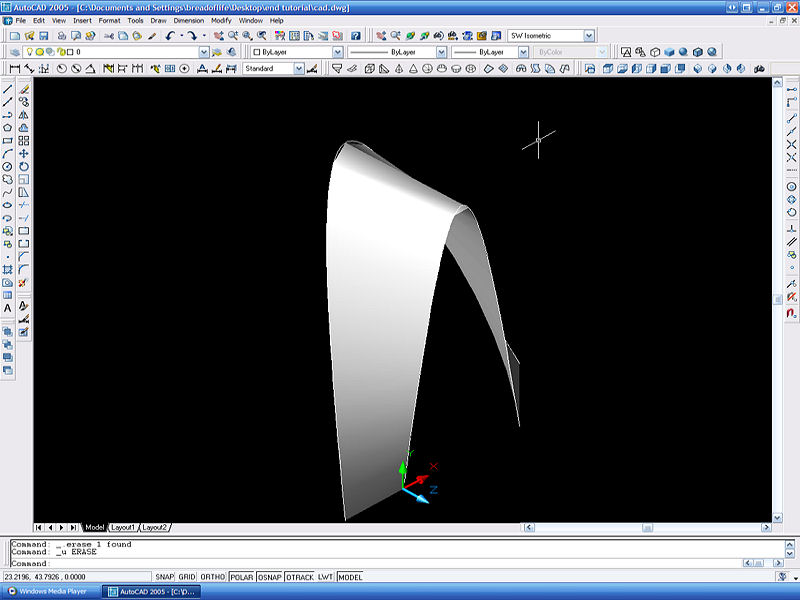 |